Since December, the latest is at the top. Scroll down to see the rest.
|
April 4, 2012
|
|
The inside is done! All the trim is up, but now when the boat is in the water, I will have to stain the rest of the trim that I did not take off the boat! On to the next project, lifting the bow rails off and rebed them this weekend. Took Friday off to get a good head start and maybe finish by Easter Sunday morning. Famous last words |
|
March 28, 2012 |
|
Well, then end of one major project in sight. This past weekend I did get the gelcoat buffed out where I had to patch, horns attached, The wires run into the galley, sealed all the holes with 3m 4000, mounted the last cabinet and the trim installed. |
|
March 18, 2012 |
|
Well the cabin is starting to go back together. Admiral is sanding the trim this week so I can stain and replace it on the overhead cabinet. The Gelcoat came out nice. I little sanding on the edges and a buff job. |
|
Mar 10, 2012 |
|
Well I got some of the work done today. The first few pictures are getting the ice maker fixed. I had to replace the whole control module and ice cube tray. The heater element went. The last few pictures shows the first piece of the headliner going up. |
|
Feb 22, 2012 |
|
A question was asked about how the seam would look. Here I used some scrap since I have not yet placed it in the boat. The caption on the pictures explain the steps. And the teak is starting to take shape. |
|
Feb 18, 2012 |
|
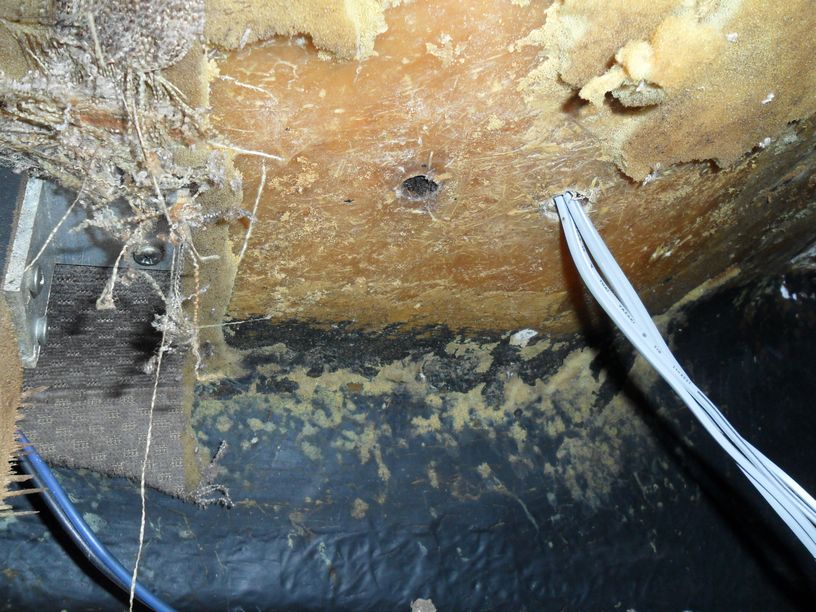
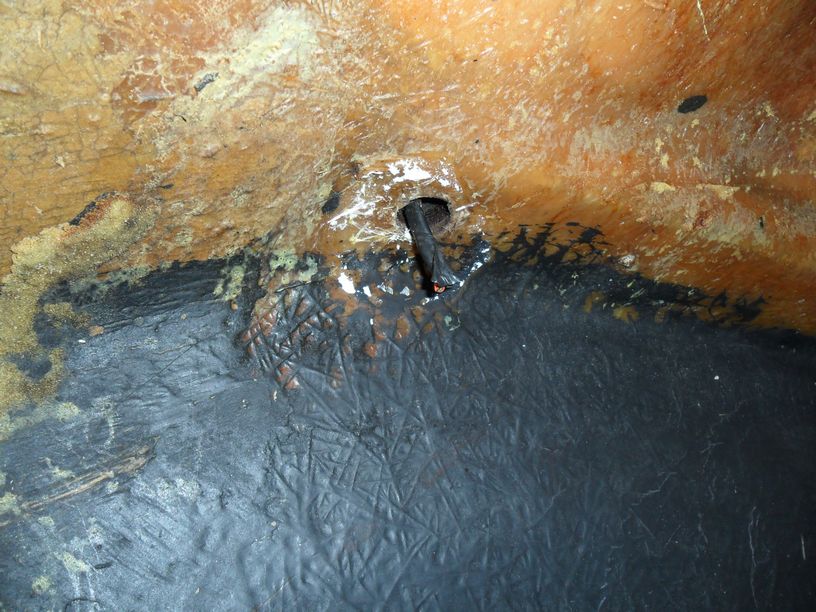
The 2 exterior holes turned out to be more than just 2. Also there is an 3/8" cavity between the ceiling fiberglass and the top deck.
It seams I also added another project to the list. I took off the teak cup holder. I want to thank Jason for adding this project. He came up with a real good way to refinish the teak. Lets see if I can duplicate his process. See blog for more details of today's work. |
|
Feb 2, 2012 |
|
Well now I have to holes patched. The first picture is with 3 layers and the second is with 6 layers of 6 oz woven cloth and chopped mat. See blog for more details. Added 3 new pictures of using thinned epoxy to the edges of the cabinet to seal them from and potential new water and to strength the wood. |
Jan 8, 2012
|
|
Well this weekend was productive. Completed stripping the foam backing of the headliner off the ceiling, cleaned up the edges of the cabinets where they stapled trim boarder made out of the head liner, and started to track down one portable water leak that fills the in-floor storage. I did pull out the Microwave and the draws to start looking for the portable water leak. And guess what I found, a wench! I did find the leak. It seems if the drain elbow is not glued together, guess what happens.
|
|
Before Christmas 2011
|
|
This set of slides shows the work to take down this cabinet. You do have to admit that is looks nasty where the water has been leaking into the galley. |
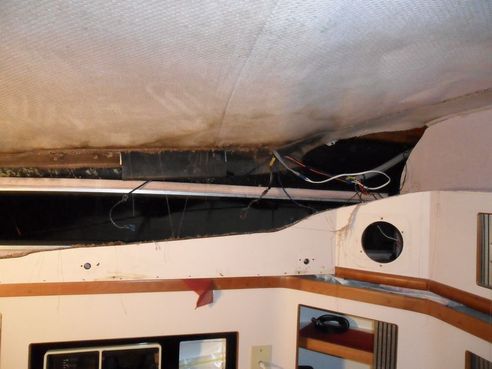
Here is the cabinet down, sitting on top of the lower cabinet. What a good place to leave it. Actually, as I was prying it down, it fell right there and I left it.
After pulling down some of the headliner, the picture to the left shows where I put the hole for the wires from the horn. The hole to the left of the wires is the old hole that was patched over from the top, by the previous owner. The only problem is that it was not water tight and water was still weeping out of the hole. Worse yet, it seems there is a big air gap around the wooden plug he used. The picture on the right is where I cut the windshield wiper wires by mistake. There was caulking around the wires and up in the hole where it goes into the windshield. As I went to try and pull the caulking off, it popped right out. There is wet wood there. So it seems that the water was coming down that hole as well. Just found more work to do.
|
All the molding around the top had to be taken off and the port side cabinet taken down. The port side cabinet required the bottom and one end molding to be taken off to get at the screws that held the cabinet up.
|
|
Taking down the old headliner. Took about 4 hours to take it down. At first, i just tried to pull it down, but the fabric and the foam separated. Finally used a putty knife and used that to separate the foam from the fiberglass.
|